

I built a sound-resistant room inside my basement music room, so that I can record vocals and acoustic instruments; the basement is pretty noisy. This was my first ever construction project - very fun! (Thank god for the University of YouTube.) Tools used: hammer, level, power drills, rotary hammer drill, circular saw, jigsaw, hand saw, sawzall, dremel saw, utility knife, "mud" knife, tape measure, miter box, pencils, fingernails, blood, shop vac.Materials used: lumber (2x4, 1x2), sheetrock (5/8"), R19 insulation, R15 insulation, nails, screws, staples, sound-proofing caulking, sound-proof putty, mud and tape, wire, light switch, light fixture, junction boxes, pre-hung door, shims, window, carpet squares, PVC tube, weather stripping.Trips to hardware store: 17Cost: less than a private jet.
Jan 31, 2017Jan 31, 2017jjbreslow
Planning to build the frame for the wall with a door and window.
Jan 31, 2017Jan 31, 2017jjbreslow|
IMG_0466
Capture Date: Jan 31, 2017 04:11 PM
Show Photo Info
Planning the door and window
Close |

IMG_0467
Jan 31, 2017Jan 31, 2017jjbreslow|
IMG_0467
Capture Date: Jan 31, 2017 04:11 PM
Show Photo Info
Planning
Close |
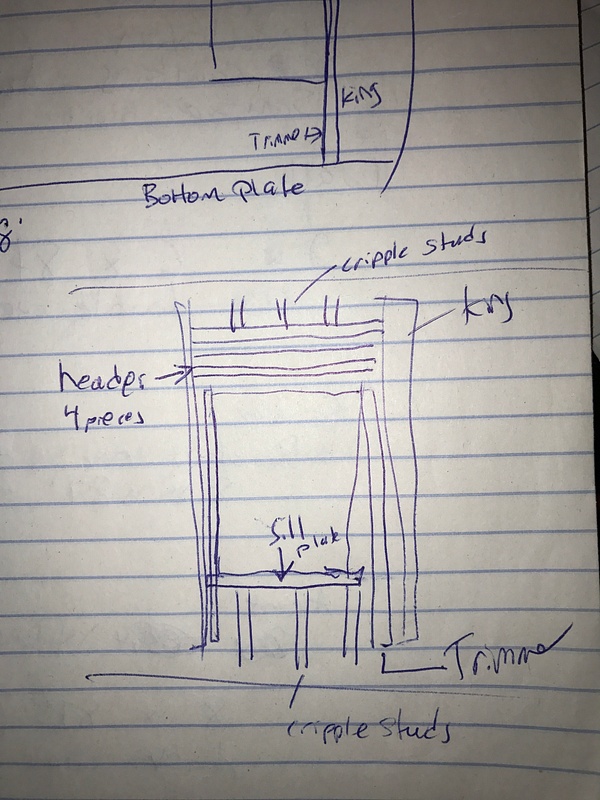
Learning how to frame a window.
Jan 31, 2017Jan 31, 2017jjbreslow|
IMG_0468
Capture Date: Jan 31, 2017 04:12 PM
Show Photo Info
Figuring out how to frame a window
Close |
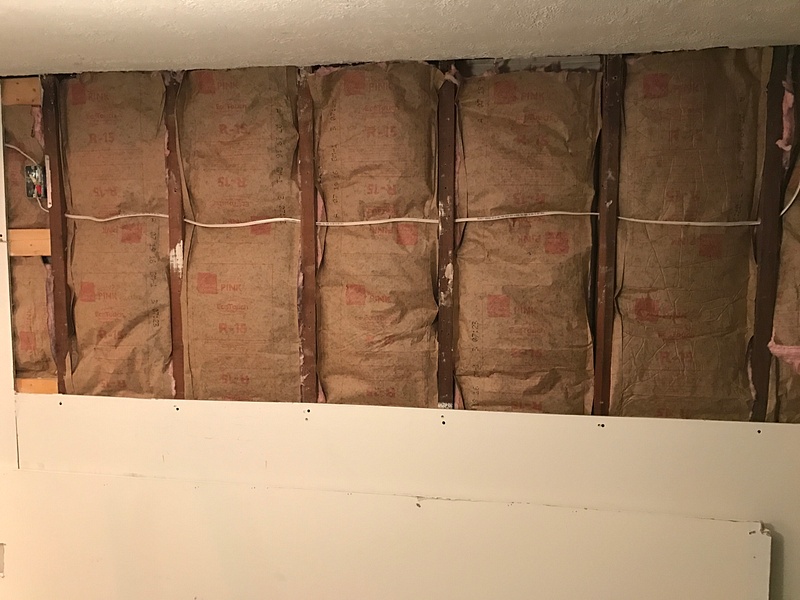
I removed the sheet rock from one existing basement wall, added insulation, put the wiring through the wall, spliced in a junction box, then put the sheet rock back. I then added a second wall adjacent to this one, about an inch away, for sound deadening.
Jan 31, 2017Jan 31, 2017jjbreslow|
IMG_0219
Capture Date: Jan 31, 2017 04:15 PM
Show Photo Info
Insullation added to existing wall
Close |

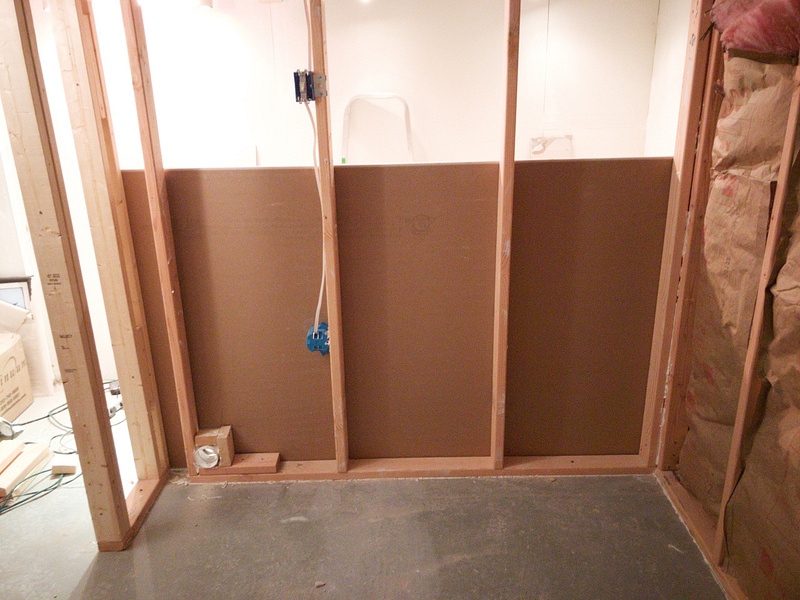
This is the second wall installed next to the existing wall.
Jan 31, 2017Jan 31, 2017jjbreslow|
IMG_0268
Capture Date: Jan 31, 2017 04:16 PM
Show Photo Info
First wall framed up
Close |

Framed around the junction box so it could be reached if needed.
Jan 31, 2017Jan 31, 2017jjbreslow|
IMG_0271
Capture Date: Jan 31, 2017 04:16 PM
Show Photo Info
Framed around the junction box
Close |

All walls framed.
Jan 31, 2017Jan 31, 2017jjbreslow|
IMG_0281
Capture Date: Jan 31, 2017 04:15 PM
Show Photo Info
Frame door and window
Close |

Two walls framed.
Jan 31, 2017Jan 31, 2017jjbreslow|
IMG_0273
Capture Date: Jan 31, 2017 04:14 PM
Show Photo Info
Framed 2 walls
Close |

3 walls framed.
Jan 31, 2017Jan 31, 2017jjbreslow|
IMG_0275
Capture Date: Jan 31, 2017 04:14 PM
Show Photo Info
3 framed walls
Close |

Insulation added to back wall.
Jan 31, 2017Jan 31, 2017jjbreslow|
IMG_0279
Capture Date: Jan 31, 2017 04:14 PM
Show Photo Info
Insullation
Close |

I'll add a switch for the overhead light. This is a clever box - it can be adjusted forward or backward to match the surface of the sheet rock.
Jan 31, 2017Jan 31, 2017jjbreslow|
IMG_0291
Capture Date: Jan 31, 2017 04:13 PM
Show Photo Info
Preparing for a switch
Close |

Running the lighting wire to go outside of the room.
Jan 31, 2017Jan 31, 2017jjbreslow|
IMG_0292
Capture Date: Jan 31, 2017 04:13 PM
Show Photo Info
Running the wiring out
Close |
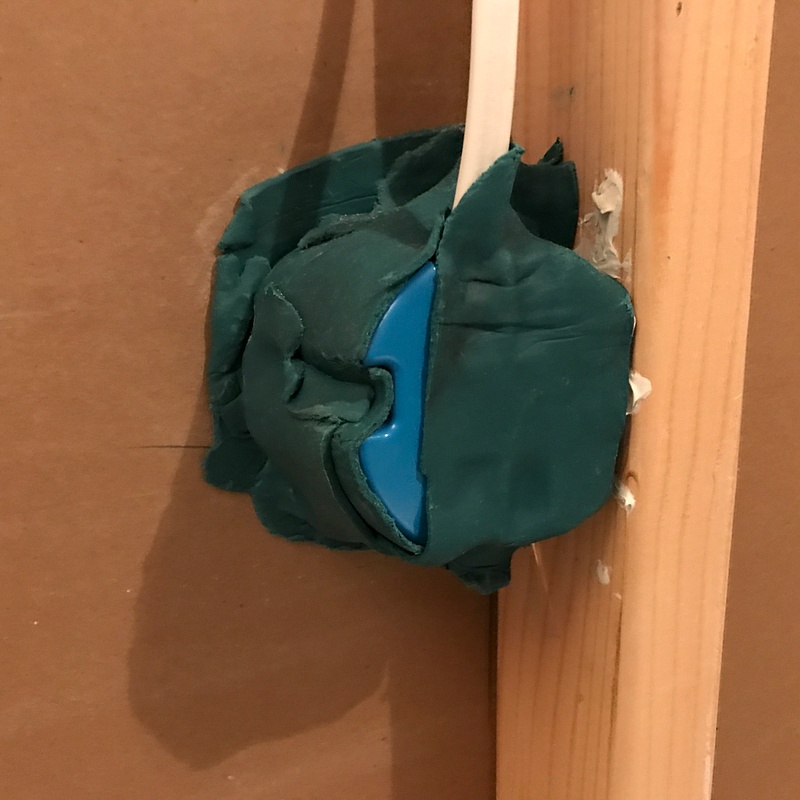
Putty to keep sound from coming in around the electrical box.
Jan 31, 2017Jan 31, 2017jjbreslow|
IMG_0402
Capture Date: Jan 31, 2017 04:14 PM
Show Photo Info
Sound resistant putty
Close |

IMG_0220
Jan 31, 2017Jan 31, 2017jjbreslow|
IMG_0220
Capture Date: Jan 31, 2017 04:16 PM
Show Photo Info
Spliced wire, set in a box
Close |
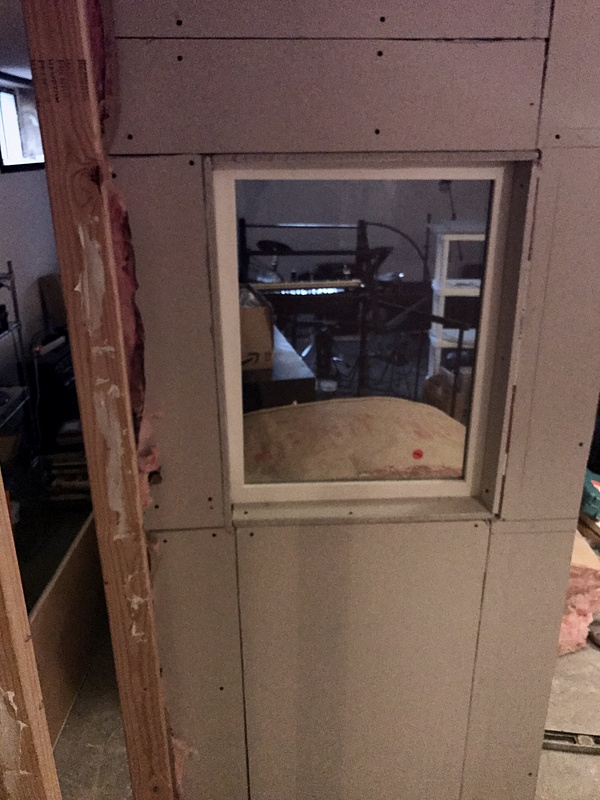
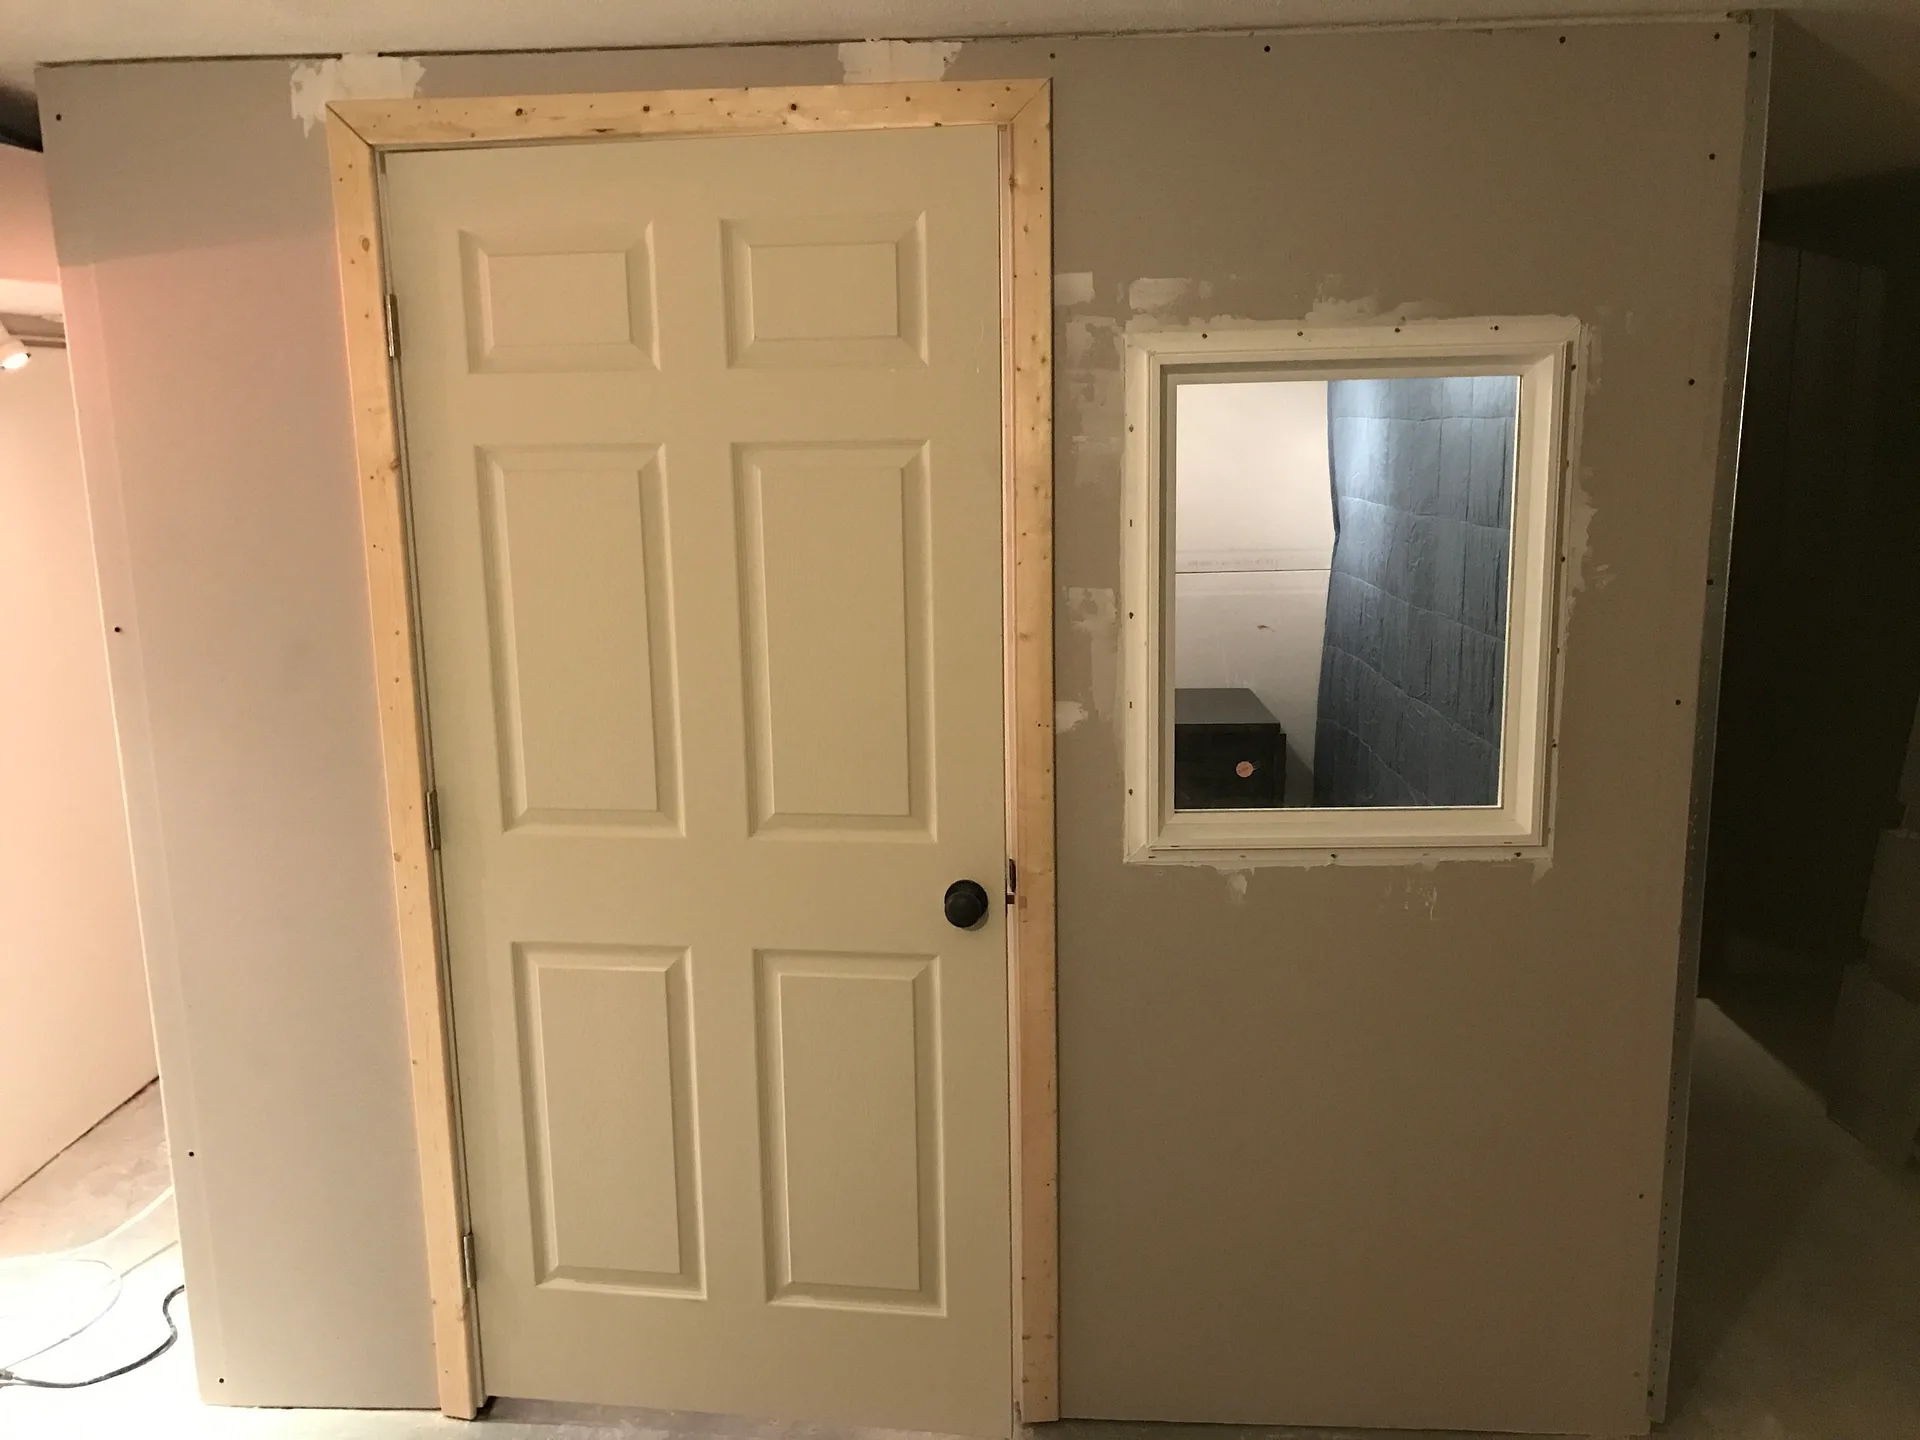
Window installed, very amateur sheet-rocking with multiple small pieces.
Jan 31, 2017Jan 31, 2017jjbreslow|
IMG_0435
Capture Date: Jan 31, 2017 04:13 PM
Show Photo Info
Window in place
Close |

Box and wiring for light fixture.
Jan 31, 2017Jan 31, 2017jjbreslow|
IMG_0287
Capture Date: Jan 31, 2017 04:15 PM
Show Photo Info
Wiring for light fixture
Close |

Interior walls.
Jan 31, 2017Jan 31, 2017jjbreslow|
IMG_0444
Capture Date: Jan 31, 2017 04:13 PM
Show Photo Info
Sheetrock up
Close |
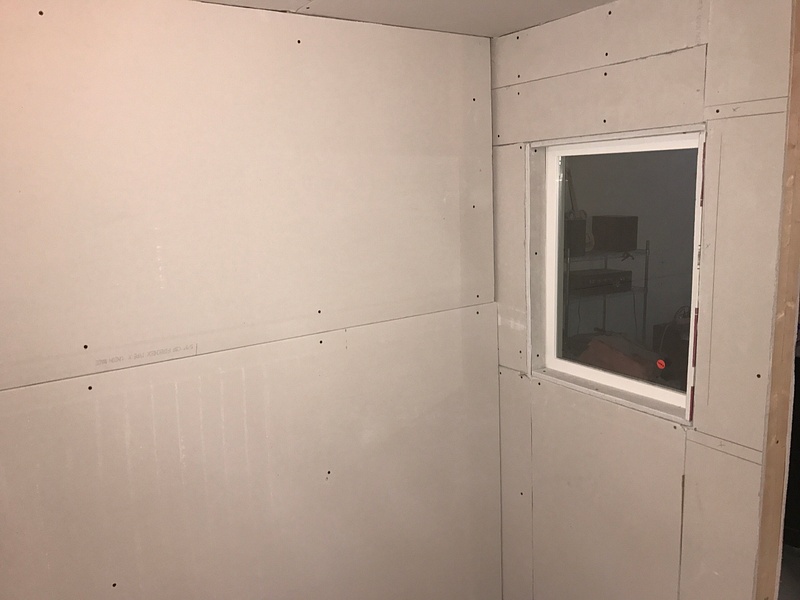
Sheetrock in place on side walls, ceiling and window wall.
Jan 31, 2017Jan 31, 2017jjbreslow|
IMG_0446
Capture Date: Jan 31, 2017 04:13 PM
Show Photo Info
Sheet-rocked around window
Close |

IMG_0405
Jan 31, 2017Jan 31, 2017jjbreslow|
IMG_0405
Capture Date: Jan 31, 2017 04:14 PM
Show Photo Info
Sheet-rocked door opening
Close |

Door and window installed.
Jan 31, 2017Jan 31, 2017jjbreslow|
IMG_0450
Capture Date: Jan 31, 2017 04:12 PM
Show Photo Info
Door and window installed
Close |

The floor sill is screwed into the concrete floor (had to buy a tool for that), then caulked with sound proofing.
Jan 31, 2017Jan 31, 2017jjbreslow|
IMG_0313
Capture Date: Jan 31, 2017 04:19 PM
Show Photo Info
Drilled into cement floor
Close |
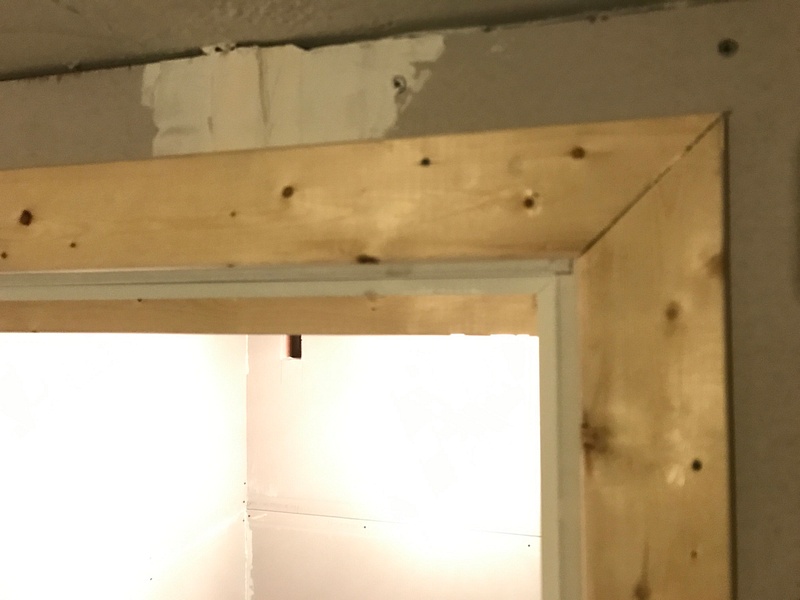
Door trim closeup.
Jan 31, 2017Jan 31, 2017jjbreslow|
IMG_0455
Capture Date: Jan 31, 2017 04:12 PM
Show Photo Info
Added trim around the door
Close |

Door hung - and *almost* level. It does the job.
Jan 31, 2017Jan 31, 2017jjbreslow|
IMG_0449
Capture Date: Jan 31, 2017 04:12 PM
Show Photo Info
Hung the door
Close |

IMG_0324
Jan 31, 2017Jan 31, 2017jjbreslow|
IMG_0324
Capture Date: Jan 31, 2017 04:17 PM
Show Photo Info
Sheetrock ceiling, cut out for light
Close |
IMG_0326
Jan 31, 2017Jan 31, 2017jjbreslow|
IMG_0326
Capture Date: Jan 31, 2017 04:17 PM
Show Photo Info
Starting to add sheetrock
Close |

|

JohnFeb 1, 2017 06:22 AM
Dude! Impressive that you taught yourself all of that - and that you bought all of those cool tools! Wonderful display of motivation! Can't wait to come and record.
John ReedFeb 1, 2017 06:23 AM
Forgot to add my last name - you might know other's with the same first name - God forbid.
All fields are required.
Comment successfully added.